Getting Started
Before using the Headless Payment APIs, one or more payment processor connections must be established in the WhenThen webapp. The ID of the connected payment processor connection will be required when calling these APIs.
Follow the steps below to setup a payment processor connection and copy the created ID.
1Getting Started
Getting Started
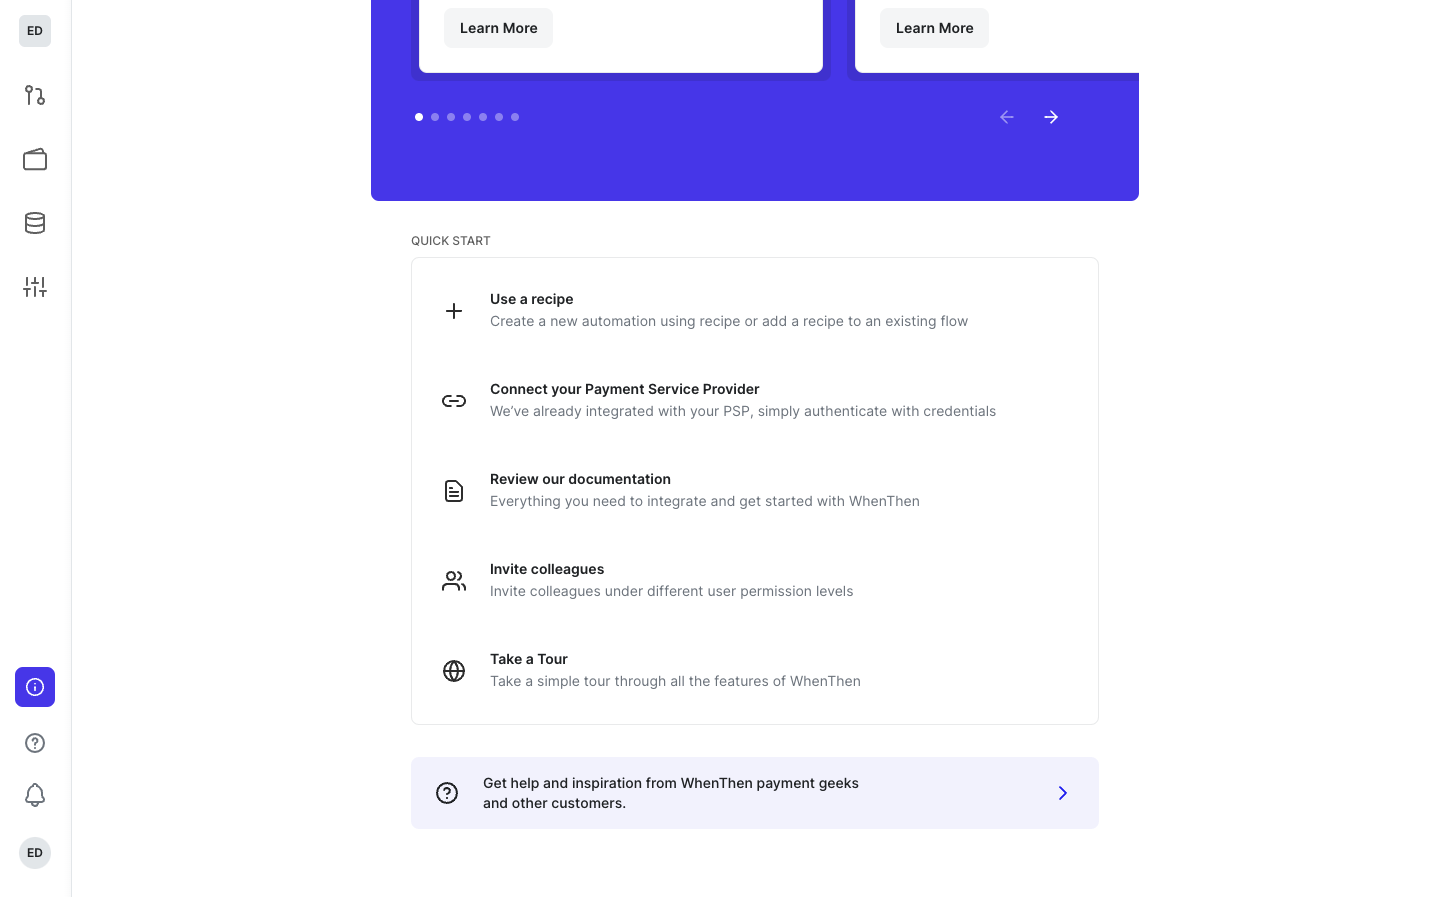
- Start by connecting your Payment Processor(s).
2Connection List
Connection List
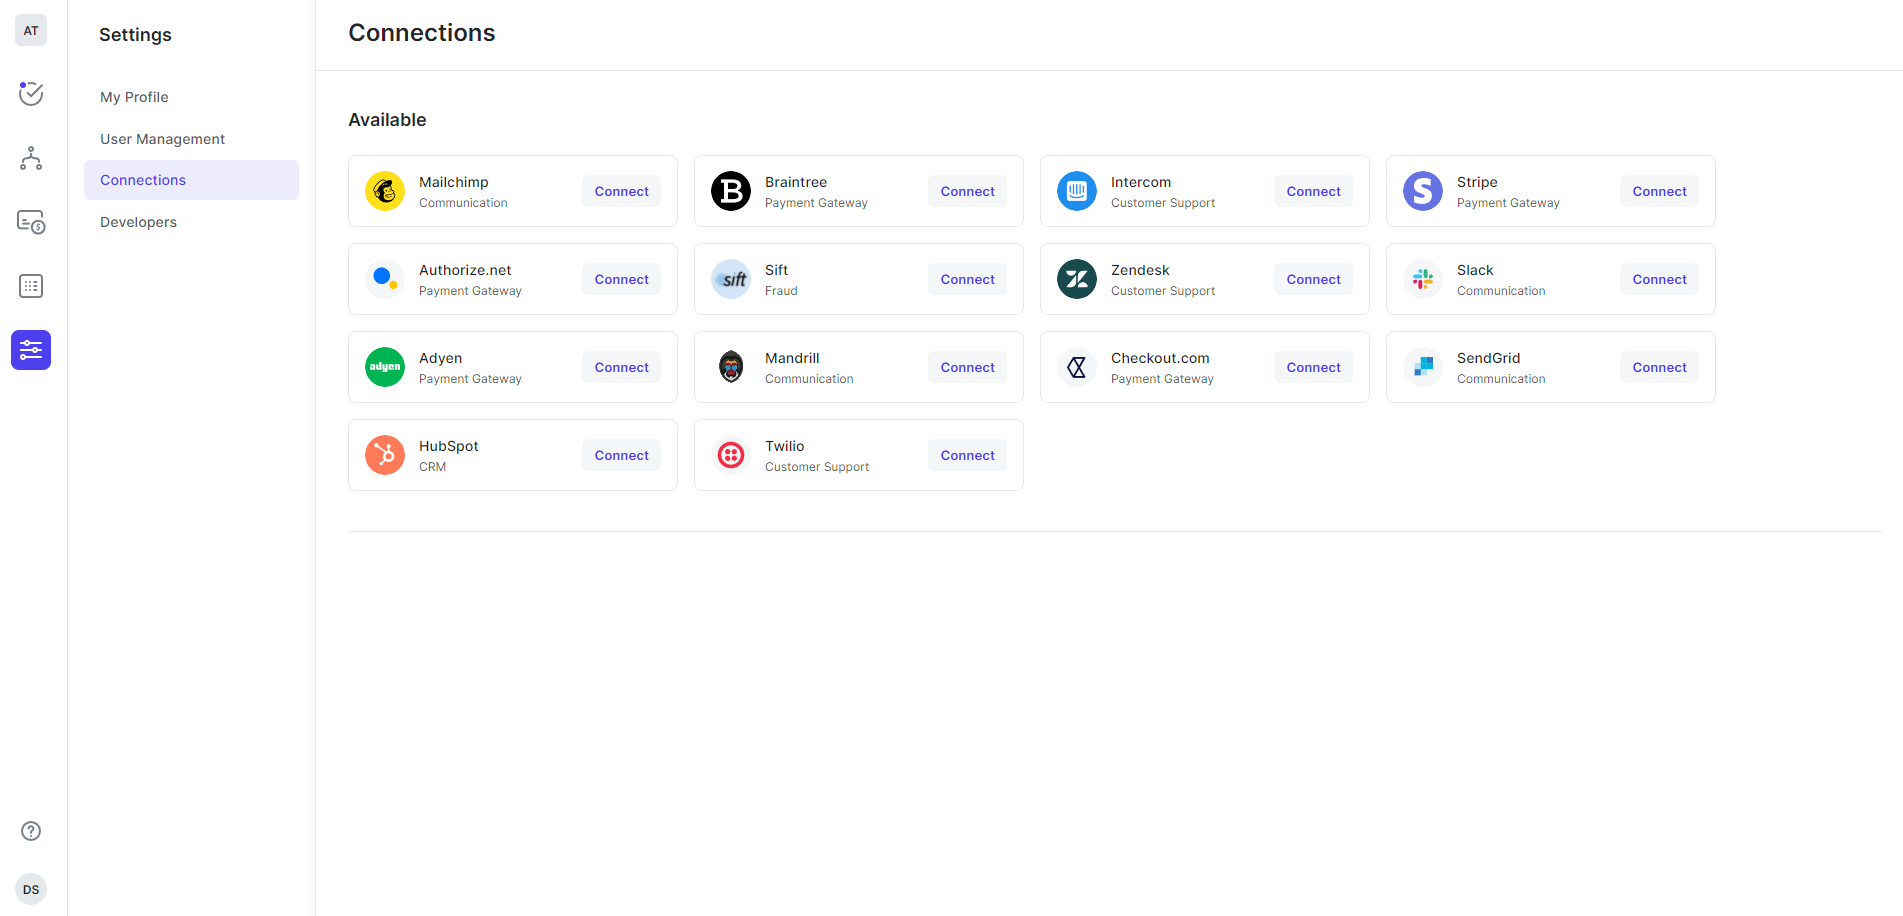
- Go to Settings → Connections.
- Select the Payment Processor that you want to connect, by clicking the Connect button.
3Connect Payment Processor
Connect Payment Processor
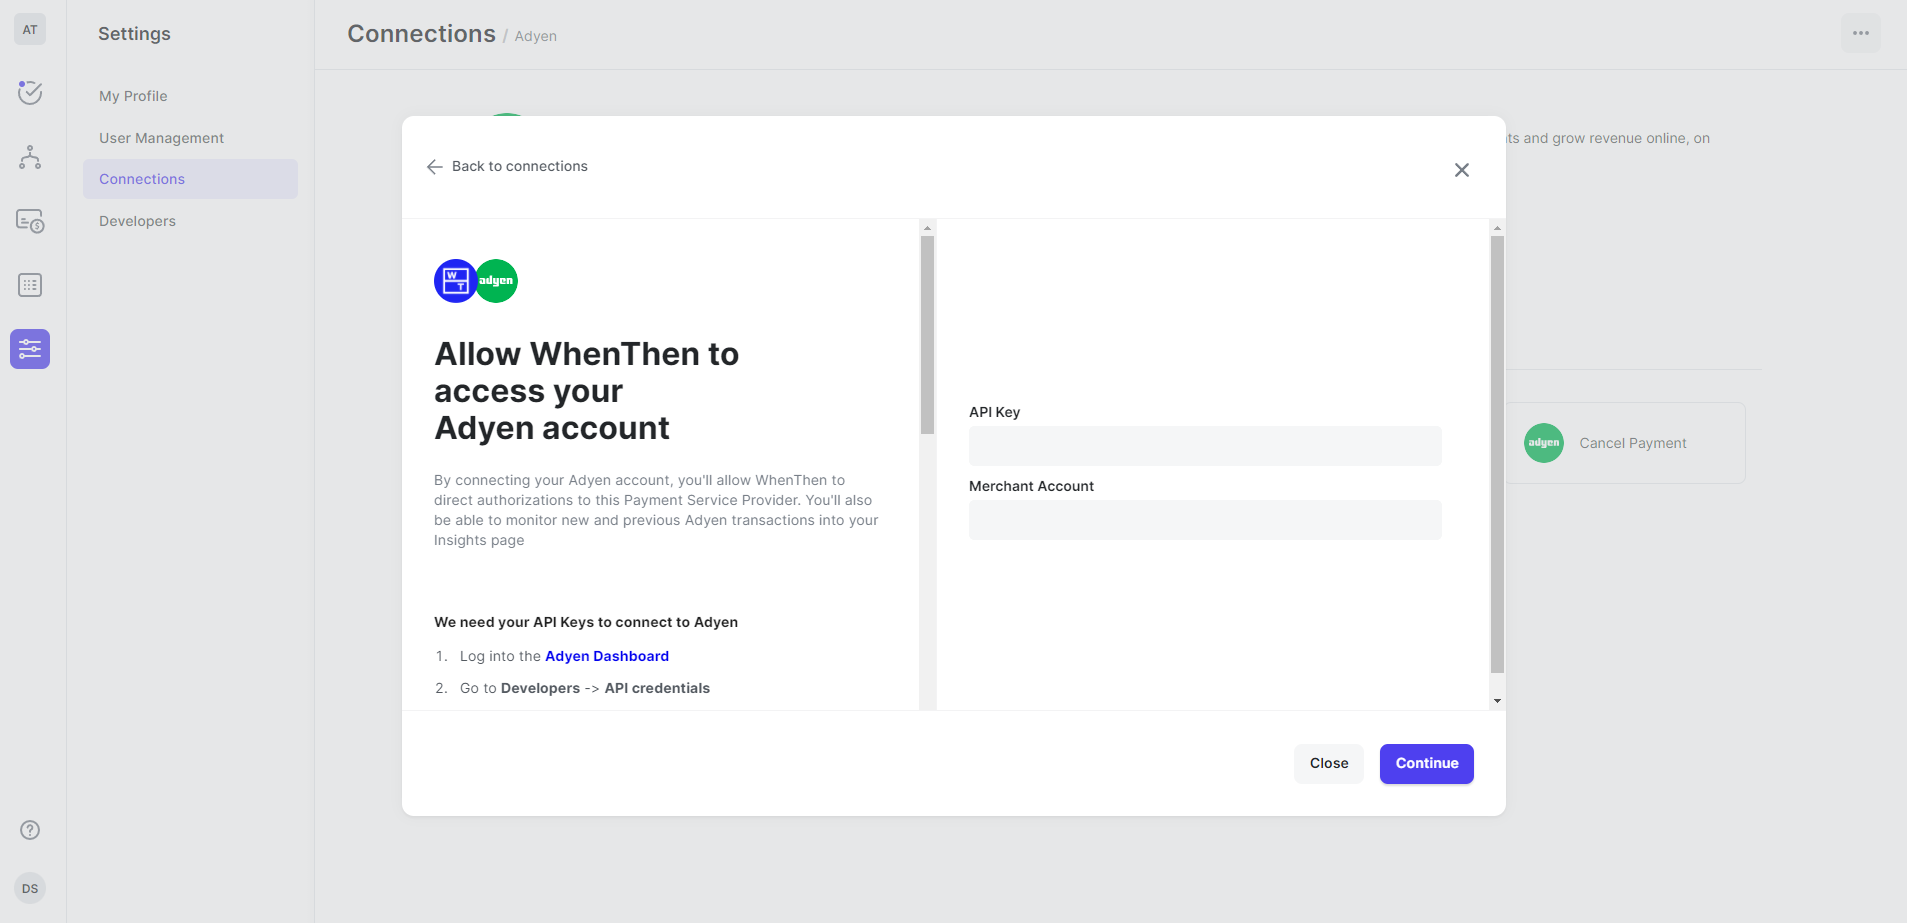
- You are prompted with a dialog to enter the Payment Processor API credentials.
- Depending on the Payment Processor you're connecting, you will either have to enter login credentials via OAuth or API credential to complete the connection.
- You can read our guide in the modal, or visit the documentation for the Payment Processor you are connecting.
4Payment Processor Connected
Payment Processor Connected
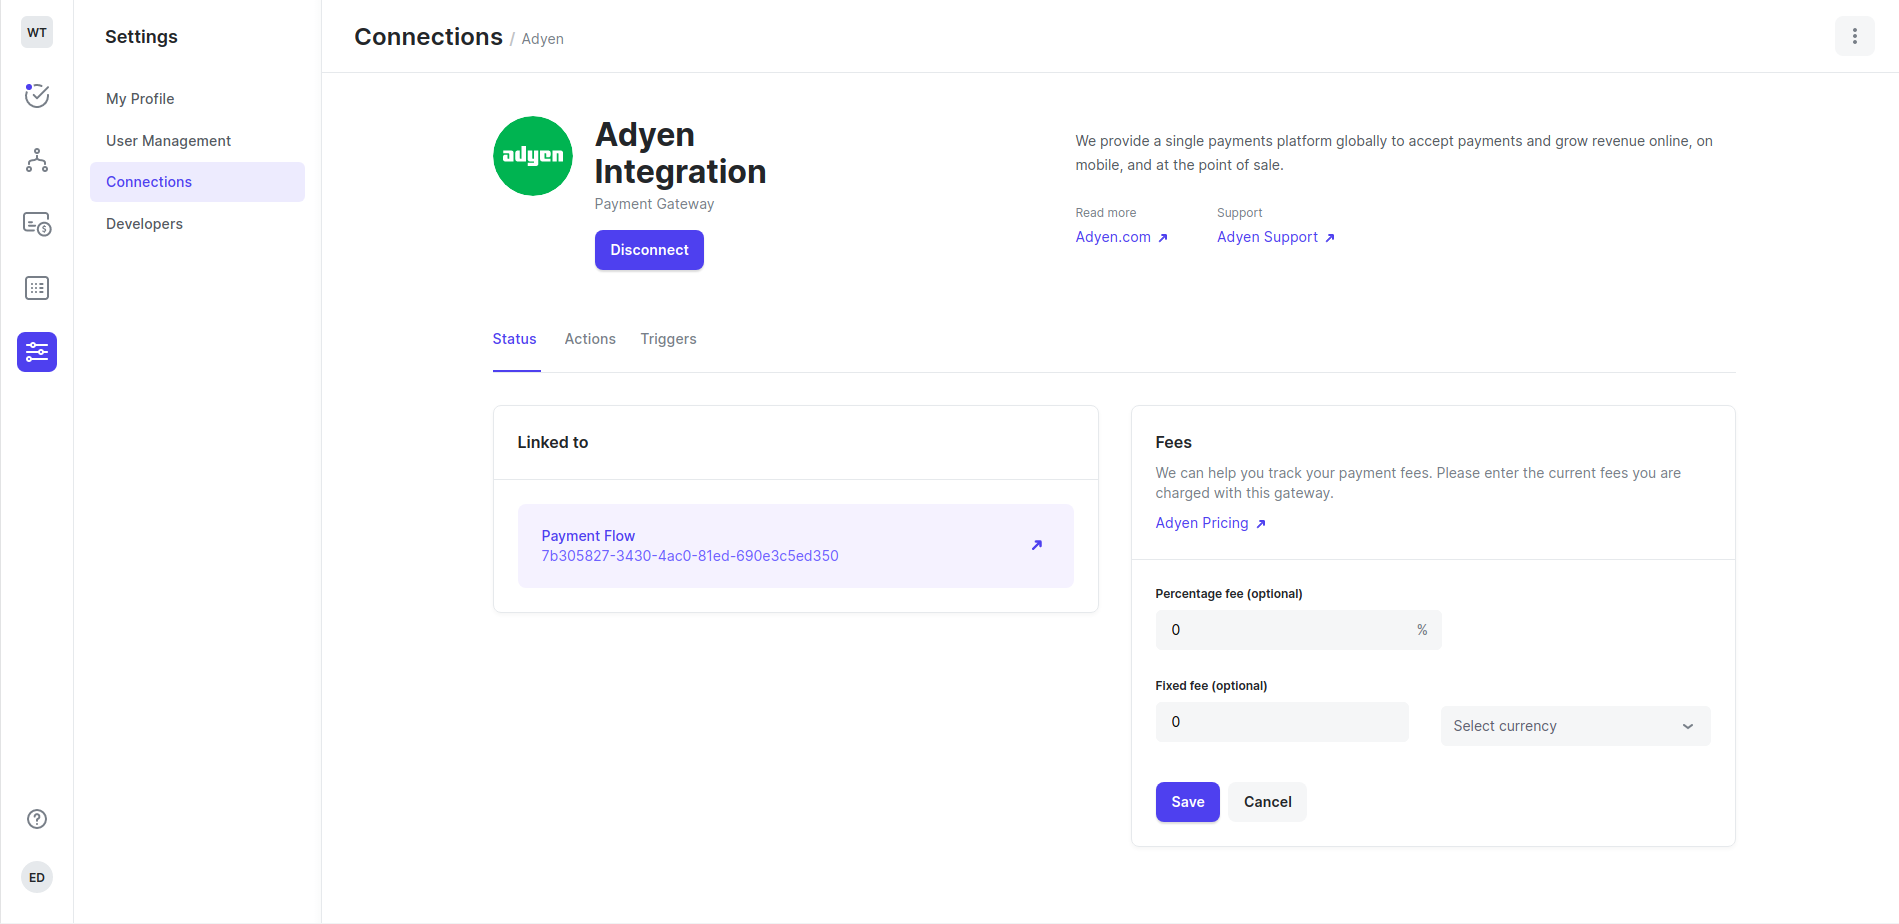
- Having entered valid credentials the Payment Processor should display as connected.
- You can now use this Payment Processor to build your payment flow or build an automation.
5Copy Payment Processor Connection ID
Copy Payment Processor Connection ID
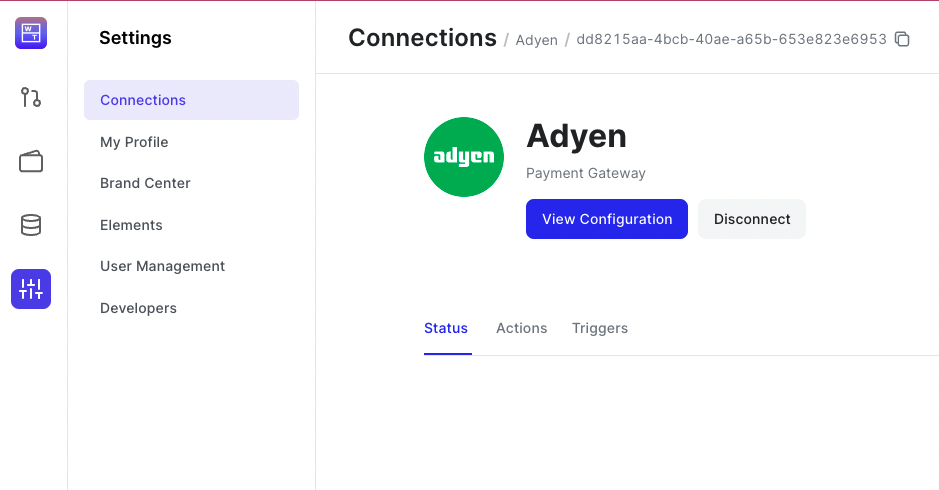
- Copy the payment processor connection ID using the copy icon (top right of the image above). This will be required for certain APIs such as Headless Request Payment Processor Token.