Checkout Action
Node Type
Description
Use the Checkout Action node to instruct the Automation to render the WhenThen Checkout Form to the user. Using this node, you can define the specific payment methods and customize the order they appear for the user on their checkout page. This node is Mandatory when using the WhenThen checkout and the Intents API.
To learn more about checkout options and implementation, click [here](https://documentation.whenthen.com/checkout)
When to Use
Use the Checkout Action node as party of any Automation where you want to customize the checkout form the users experiences. This is a mandatory node when using WhenThen's Intent API to process a payment
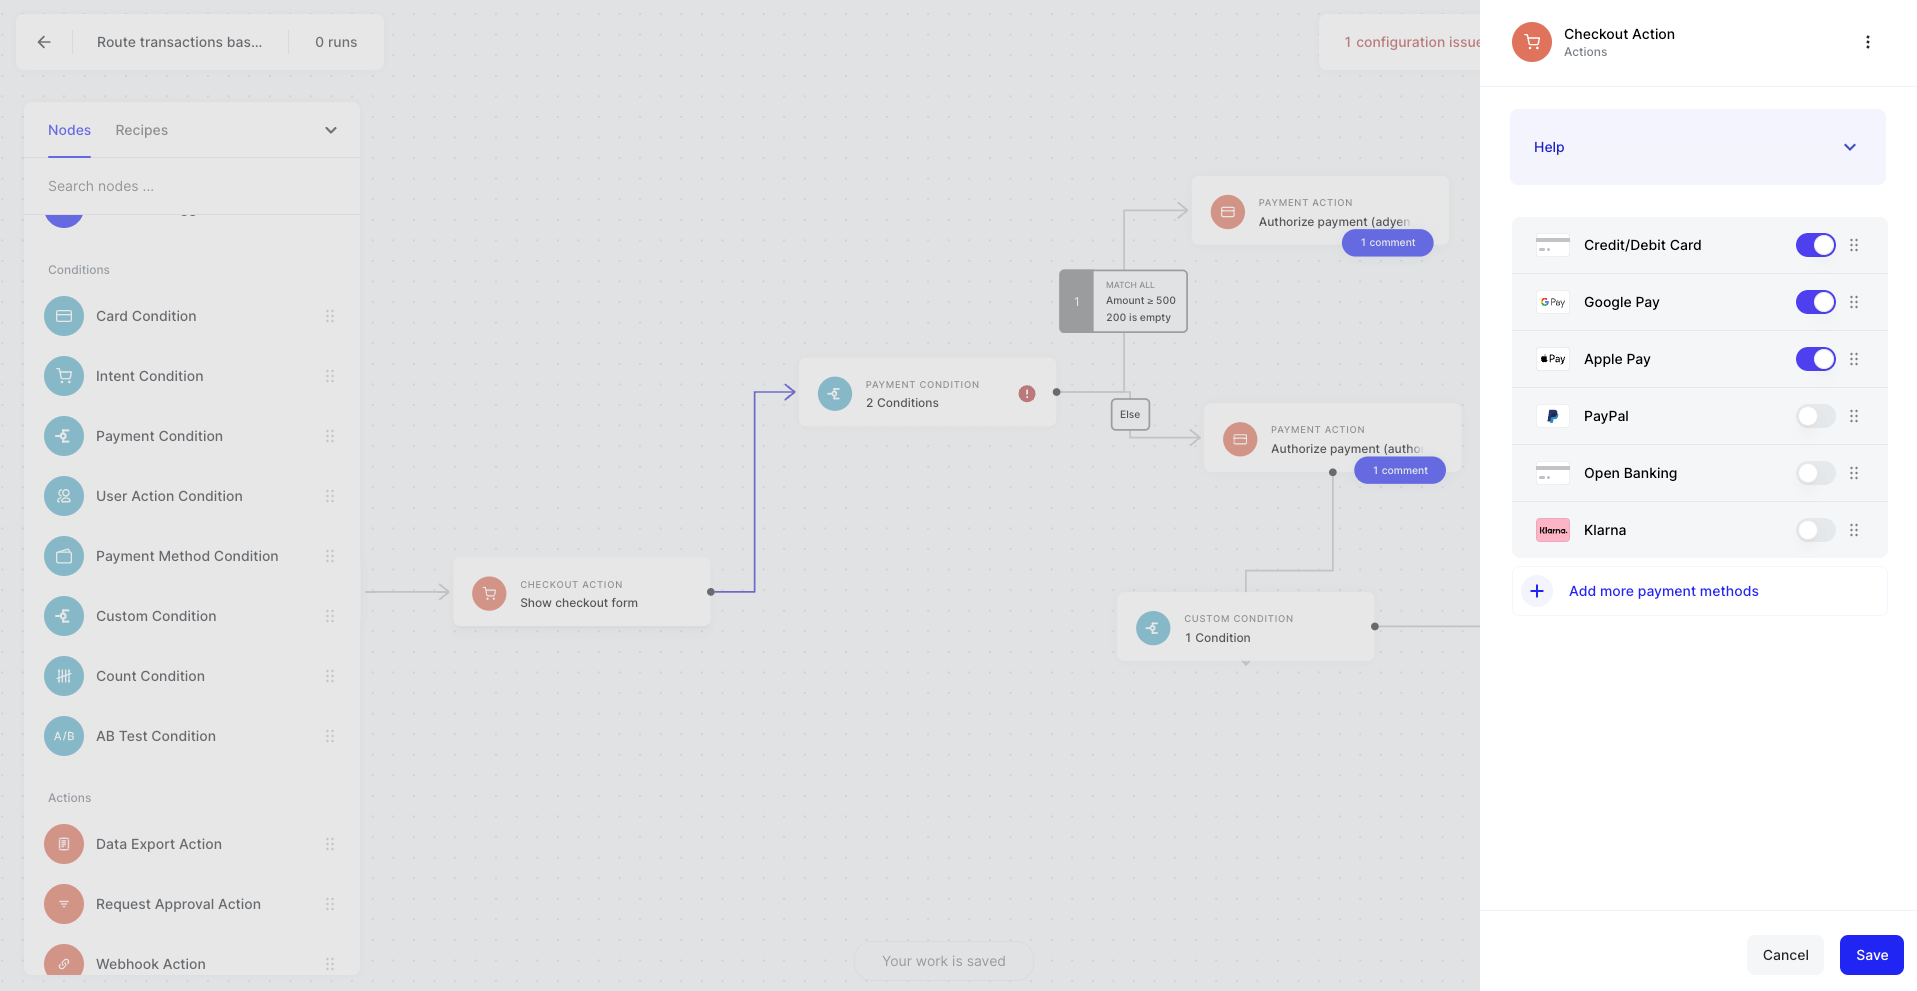
How to Use
- Drag and drop a Start Payment Processing Node - this is the node required to initiate all processing automations.
- Drag and drop your Checkout Action Node
- Click on the Checkout Action Node to open the configuration modal
- Using the toggles, turn on or off the Payment Methods you want to show to the user when this node is activated. The list of available Payment Method is generated based on the PSPs and Connections you have Authenticated. You can connect additional payment processors and methods and connections and they will appear on this list
- Save your automation
- In order to successfully launch a Payment Processing Automation, you will also require a Payment Action Node to authorize and capture your payment
Example Use Cases
Localise your checkout to show the most relevant payment methods.